> ## Documentation Index
> Fetch the complete documentation index at: https://cometchat-22654f5b-docs-rn-guide-message-privately.mintlify.site/llms.txt
> Use this file to discover all available pages before exploring further.
# Overview
> Overview of Overview in CometChat.
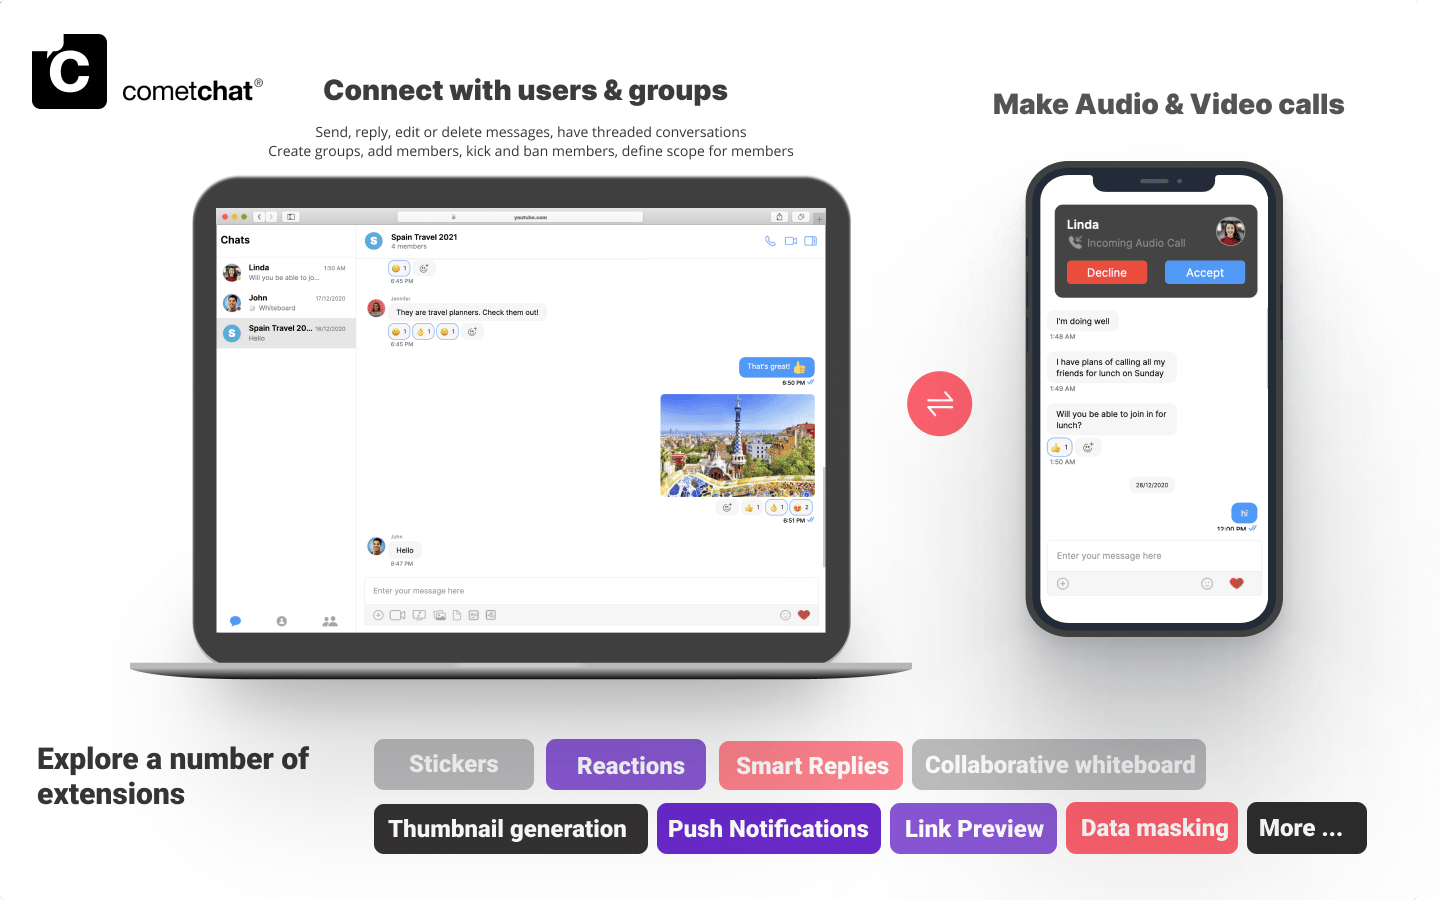
Our React Chat UI Kit lets developers easily add text, voice & video to your website. It a fully polished UI and the complete business logic.
Don't forget to check out the [Key Concepts](/ui-kit/react/v3/key-concepts) for your React Chat UI Kit before proceeding.
 What's New in v3
* Seamless scaling to over 1M+ concurrent users
* Faster connection & response times
* Higher rate limits
* Supports up to 100K users in a group
* Unlimited groups
* Support for Transient Messages
* Real-time user & group members count
* And more!
CometChat's React UI Kit’s customizable UI components simplify the process of integrating text chat and voice/video calling features to your website or mobile application in a few minutes.
Follow the steps mentioned in the `README.md` file.
Kindly, click on below button to download our React UI Kit.
[React UI Kit](https://github.com/cometchat-pro/cometchat-pro-react-ui-kit/archive/master.zip)
[View on Github](https://github.com/cometchat/cometchat-chat-uikit-react/tree/v3)
Kindly, click on below button to download our React Sample App.
[React Sample App](https://github.com/cometchat-pro/javascript-react-chat-app/archive/master.zip)
[View on Github](https://github.com/cometchat/cometchat-chat-sample-app-react/tree/v3)
***
## Prerequisites
Before you begin, ensure you have met the following requirements:
1. A text editor. (e.g. Visual Studio Code, Notepad++, Sublime Text, Atom, or VIM)
2. [Node](https://nodejs.org/en/)
3. [npm](https://www.npmjs.com/get-npm)
4. [React](https://reactjs.org/)
```sh theme={null}
npm install react@17.0.2
```
5. [React DOM](https://reactjs.org/docs/react-dom.html)
```sh theme={null}
npm install react-dom@17.0.2
```
6. [React Scripts](https://www.npmjs.com/package/react-scripts)
```sh theme={null}
npm install react-scripts@4.0.3
```
## Installing the React Chat UI Kit
Important
Please follow the steps provided in the [Key Concepts](/ui-kit/react/v3/key-concepts) to create V3 apps before you proceed.
### Setup
1. Register on CometChat
* To install React UI Kit, you need to first register on the CometChat Dashboard. Click [here](https://app.cometchat.com) to Sign Up.
2. Get your application keys
* Create a new app.
* Head over to the QuickStart or API & Auth Keys section and note the App ID, Auth Key, and Region.
3. Add the CometChat dependency
```sh theme={null}
npm install @cometchat-pro/chat@3.0.11 --save
```
### Configure CometChat inside your app
* Import CometChat SDK
```js theme={null}
import { CometChat } from "@cometchat-pro/chat";
```
* Initialize CometChat
The init() method initializes the settings required for CometChat. We suggest calling the init() method on app startup, preferably in the index.js file.
```js theme={null}
const appID = "APP_ID";
const region = "REGION";
const appSetting = new CometChat.AppSettingsBuilder().subscribePresenceForAllUsers().setRegion(region).build();
CometChat.init(appID, appSetting).then(
() => {
console.log("Initialization completed successfully");
// You can now call login function.
},
error => {
console.log("Initialization failed with error:", error);
// Check the reason for error and take appropriate action.
}
);
```
Replace APP\_ID and REGION with your CometChat App ID and Region in the above code.
* Create user
This method takes a `User` object and the `Auth Key` as input parameters and returns the created `User` object if the request is successful.
```js theme={null}
let authKey = "AUTH_KEY";
var uid = "user1";
var name = "Kevin";
var user = new CometChat.User(uid);
user.setName(name);
CometChat.createUser(user, authKey).then(
user => {
console.log("user created", user);
},error => {
console.log("error", error);
}
)
```
Replace AUTH\_KEY with your CometChat Auth Key in the above code.
* Login your user
This method takes `UID` and `Auth Key` as input parameters and returns the User object containing all the information of the logged-in user.
```js theme={null}
const authKey = "AUTH_KEY";
const uid = "cometchat-uid-1";
CometChat.login(uid, authKey).then(
user => {
console.log("Login Successful:", { user });
},
error => {
console.log("Login failed with exception:", { error });
}
);
```
Replace AUTH\_KEY with your CometChat Auth Key in the above code.
We have set up 5 users for testing having UIDs: cometchat-uid-1, cometchat-uid-2, cometchat-uid-3, cometchat-uid-4, and cometchat-uid-5.
We have used uid cometchat-uid-1 as an example here. You can create a User from CometChat Dashboard as well.
### Add the React UI Kit to your project
* Clone this repository
```sh theme={null}
git clone https://github.com/cometchat-pro/cometchat-pro-react-ui-kit.git
```
* Copy the cloned repository to your source folder
What's New in v3
* Seamless scaling to over 1M+ concurrent users
* Faster connection & response times
* Higher rate limits
* Supports up to 100K users in a group
* Unlimited groups
* Support for Transient Messages
* Real-time user & group members count
* And more!
CometChat's React UI Kit’s customizable UI components simplify the process of integrating text chat and voice/video calling features to your website or mobile application in a few minutes.
Follow the steps mentioned in the `README.md` file.
Kindly, click on below button to download our React UI Kit.
[React UI Kit](https://github.com/cometchat-pro/cometchat-pro-react-ui-kit/archive/master.zip)
[View on Github](https://github.com/cometchat/cometchat-chat-uikit-react/tree/v3)
Kindly, click on below button to download our React Sample App.
[React Sample App](https://github.com/cometchat-pro/javascript-react-chat-app/archive/master.zip)
[View on Github](https://github.com/cometchat/cometchat-chat-sample-app-react/tree/v3)
***
## Prerequisites
Before you begin, ensure you have met the following requirements:
1. A text editor. (e.g. Visual Studio Code, Notepad++, Sublime Text, Atom, or VIM)
2. [Node](https://nodejs.org/en/)
3. [npm](https://www.npmjs.com/get-npm)
4. [React](https://reactjs.org/)
```sh theme={null}
npm install react@17.0.2
```
5. [React DOM](https://reactjs.org/docs/react-dom.html)
```sh theme={null}
npm install react-dom@17.0.2
```
6. [React Scripts](https://www.npmjs.com/package/react-scripts)
```sh theme={null}
npm install react-scripts@4.0.3
```
## Installing the React Chat UI Kit
Important
Please follow the steps provided in the [Key Concepts](/ui-kit/react/v3/key-concepts) to create V3 apps before you proceed.
### Setup
1. Register on CometChat
* To install React UI Kit, you need to first register on the CometChat Dashboard. Click [here](https://app.cometchat.com) to Sign Up.
2. Get your application keys
* Create a new app.
* Head over to the QuickStart or API & Auth Keys section and note the App ID, Auth Key, and Region.
3. Add the CometChat dependency
```sh theme={null}
npm install @cometchat-pro/chat@3.0.11 --save
```
### Configure CometChat inside your app
* Import CometChat SDK
```js theme={null}
import { CometChat } from "@cometchat-pro/chat";
```
* Initialize CometChat
The init() method initializes the settings required for CometChat. We suggest calling the init() method on app startup, preferably in the index.js file.
```js theme={null}
const appID = "APP_ID";
const region = "REGION";
const appSetting = new CometChat.AppSettingsBuilder().subscribePresenceForAllUsers().setRegion(region).build();
CometChat.init(appID, appSetting).then(
() => {
console.log("Initialization completed successfully");
// You can now call login function.
},
error => {
console.log("Initialization failed with error:", error);
// Check the reason for error and take appropriate action.
}
);
```
Replace APP\_ID and REGION with your CometChat App ID and Region in the above code.
* Create user
This method takes a `User` object and the `Auth Key` as input parameters and returns the created `User` object if the request is successful.
```js theme={null}
let authKey = "AUTH_KEY";
var uid = "user1";
var name = "Kevin";
var user = new CometChat.User(uid);
user.setName(name);
CometChat.createUser(user, authKey).then(
user => {
console.log("user created", user);
},error => {
console.log("error", error);
}
)
```
Replace AUTH\_KEY with your CometChat Auth Key in the above code.
* Login your user
This method takes `UID` and `Auth Key` as input parameters and returns the User object containing all the information of the logged-in user.
```js theme={null}
const authKey = "AUTH_KEY";
const uid = "cometchat-uid-1";
CometChat.login(uid, authKey).then(
user => {
console.log("Login Successful:", { user });
},
error => {
console.log("Login failed with exception:", { error });
}
);
```
Replace AUTH\_KEY with your CometChat Auth Key in the above code.
We have set up 5 users for testing having UIDs: cometchat-uid-1, cometchat-uid-2, cometchat-uid-3, cometchat-uid-4, and cometchat-uid-5.
We have used uid cometchat-uid-1 as an example here. You can create a User from CometChat Dashboard as well.
### Add the React UI Kit to your project
* Clone this repository
```sh theme={null}
git clone https://github.com/cometchat-pro/cometchat-pro-react-ui-kit.git
```
* Copy the cloned repository to your source folder
 * Copy all the dependencies from package.json into your project's package.json and install them
 ### Launch CometChat
Using the CometChatUI component, you can launch a fully functional chat application. In this component, all the UI Screens and UI Components are interlinked and work together to launch a fully functional chat on your website/application.
### Launch CometChat
Using the CometChatUI component, you can launch a fully functional chat application. In this component, all the UI Screens and UI Components are interlinked and work together to launch a fully functional chat on your website/application.
 ### Usage
```js theme={null}
import { CometChatUI } from "./CometChatWorkspace/src";
class App extends React.Component {
render() {
return (
### Usage
```js theme={null}
import { CometChatUI } from "./CometChatWorkspace/src";
class App extends React.Component {
render() {
return (
);
}
}
```
## Check out our React chat sample app
Visit our [React sample app](https://github.com/cometchat/cometchat-chat-sample-app-react/tree/v3) repository to run the sample app yourself.