> ## Documentation Index
> Fetch the complete documentation index at: https://cometchat-22654f5b-docs-rn-guide-message-privately.mintlify.site/llms.txt
> Use this file to discover all available pages before exploring further.
# Integration
> Add CometChat to an Angular app in 6 steps: create project, install, init, login, add CSS, render.
| Field | Value |
| --------- | ---------------------------------------------------------------------------------------------------------------------------------------------------- |
| Package | `@cometchat/chat-uikit-angular` |
| Peer deps | `@cometchat/chat-sdk-javascript`, `rxjs` ^7.8.1 |
| Init | `CometChatUIKit.init(UIKitSettings)` — must resolve before `login()` |
| Login | `CometChatUIKit.login("UID")` — must resolve before rendering components |
| Order | `init()` → `login()` → render. Breaking this order = blank screen |
| Auth Key | Dev/testing only. Use Auth Token in production |
| CSS | Add `css-variables.css` to `angular.json` styles array or import in global `styles.css` via `@cometchat/chat-uikit-angular/styles/css-variables.css` |
| Calling | Optional. Install `@cometchat/calls-sdk-javascript` and call `.setCallingEnabled(true)` on the builder to enable |
This guide walks you through adding CometChat to an Angular app. By the end you'll have a working chat UI.
***
## Prerequisites
You need three things from the [CometChat Dashboard](https://app.cometchat.com/):
| Credential | Where to find it |
| ---------- | ---------------------------------------------------------- |
| App ID | Dashboard → Your App → Credentials |
| Auth Key | Dashboard → Your App → Credentials |
| Region | Dashboard → Your App → Credentials (e.g. `us`, `eu`, `in`) |
You also need:
* Node.js (v18+) and npm installed
* Angular CLI (`npm install -g @angular/cli`)
Auth Key is for development only. In production, generate Auth Tokens server-side via the [REST API](/rest-api/chat-apis) and use `loginWithAuthToken()`. Never ship Auth Keys in client code.
***
## Step 1 — Create an Angular Project
```bash theme={null}
ng new my-app --style css --ssr false
cd my-app
```
This creates a new Angular project with CSS styling and no server-side rendering. CometChat UIKit components require a browser environment.
***
## Step 2 — Install the UI Kit
```bash theme={null}
npm install @cometchat/chat-uikit-angular @cometchat/chat-sdk-javascript
```
```bash theme={null}
yarn add @cometchat/chat-uikit-angular @cometchat/chat-sdk-javascript
```
`@cometchat/chat-sdk-javascript` and `dompurify` are required peer dependencies. npm may install them automatically alongside the UIKit, but this is not guaranteed — it depends on your npm version and whether there are version conflicts. If you see errors related to missing `CometChat` or `DOMPurify` at runtime, install them explicitly:
```bash theme={null}
npm install @cometchat/chat-sdk-javascript dompurify
```
If you want voice/video calling, also install:
```bash theme={null}
npm install @cometchat/calls-sdk-javascript
```
***
## Step 3 — Initialize CometChat
Initialize the UI Kit in `main.ts` before bootstrapping the Angular app. This uses the static `CometChatUIKit.init()` method — the dual-API pattern lets you call it outside Angular's dependency injection context.
```ts title="src/environments/environment.ts" theme={null}
export const environment = {
production: false,
cometchat: {
appId: "APP_ID", // Replace with your App ID
region: "REGION", // Replace with your Region
authKey: "AUTH_KEY", // Replace with your Auth Key (dev only)
},
};
```
```ts title="src/main.ts" expandable theme={null}
import { bootstrapApplication } from "@angular/platform-browser";
import { AppComponent } from "./app/app.component";
import { appConfig } from "./app/app.config";
import { CometChatUIKit, UIKitSettingsBuilder } from "@cometchat/chat-uikit-angular";
import { environment } from "./environments/environment";
const UIKitSettings = new UIKitSettingsBuilder()
.setAppId(environment.cometchat.appId)
.setRegion(environment.cometchat.region)
.setAuthKey(environment.cometchat.authKey)
.subscribePresenceForAllUsers()
// .setCallingEnabled(true) // uncomment to enable voice/video calling
.build();
CometChatUIKit.init(UIKitSettings)
.then(() => {
console.log("CometChat UI Kit initialized successfully.");
bootstrapApplication(AppComponent, appConfig).catch((err) =>
console.error(err)
);
})
.catch((error) => {
console.error("CometChat UI Kit initialization failed:", error);
});
```
`init()` must resolve before you call `login()`. If you call `login()` before init completes, it will fail silently.
***
## Step 4 — Login
After init resolves, log the user in. For development, use one of the pre-created test UIDs:
`cometchat-uid-1` · `cometchat-uid-2` · `cometchat-uid-3` · `cometchat-uid-4` · `cometchat-uid-5`
Add the login logic to your root component. Use `CometChatUIKit.getLoggedinUser()` to check for an existing session before calling `login()`.
```ts title="src/app/app.component.ts" expandable theme={null}
import { Component, OnInit } from "@angular/core";
import { CometChatUIKit } from "@cometchat/chat-uikit-angular";
import { CometChat } from "@cometchat/chat-sdk-javascript";
@Component({
selector: "app-root",
standalone: true,
imports: [],
template: `
@if (isLoggedIn) {
} @else {
Loading...
}
`,
})
export class AppComponent implements OnInit {
isLoggedIn = false;
ngOnInit(): void {
const UID = "cometchat-uid-1"; // Replace with your actual UID
CometChatUIKit.getLoggedinUser().then((user: CometChat.User | null) => {
if (!user) {
CometChatUIKit.login(UID)
.then((user: CometChat.User) => {
console.log("Login Successful:", { user });
this.isLoggedIn = true;
})
.catch(console.log);
} else {
// Already logged in
this.isLoggedIn = true;
}
});
}
}
```
Key points:
* `getLoggedinUser()` checks for an existing session so you don't re-login unnecessarily.
* `login(uid)` skips the API call if a session already exists and returns the cached user.
* Components must not render until login resolves — use a boolean flag to gate rendering with `@if`.
For production, use `loginWithAuthToken()` instead of Auth Key. Generate tokens server-side via the REST API.
***
## Step 5 — Add the CSS Import
CometChat components rely on CSS custom properties for theming. Add the stylesheet using one of these methods:
Add the CSS file to the `styles` array in your `angular.json`:
```json title="angular.json" expandable theme={null}
{
"projects": {
"my-app": {
"architect": {
"build": {
"options": {
"styles": [
"src/styles.css",
"node_modules/@cometchat/chat-uikit-angular/styles/css-variables.css"
]
}
}
}
}
}
}
```
Import at the top of your global `styles.css`:
```css title="src/styles.css" theme={null}
@import '@cometchat/chat-uikit-angular/styles/css-variables.css';
```
If the `@import` doesn't resolve, use the full `node_modules` path instead:
```css title="src/styles.css" theme={null}
@import 'node_modules/@cometchat/chat-uikit-angular/styles/css-variables.css';
```
Without this import, components will render with broken or missing styles.
### Register UIKit Assets
The UIKit ships icons, images, and audio files that Angular's build system won't serve automatically. Add the assets path to your `angular.json` so they are copied to the build output:
```json title="angular.json" expandable theme={null}
{
"projects": {
"my-app": {
"architect": {
"build": {
"options": {
"assets": [
{
"glob": "**/*",
"input": "node_modules/@cometchat/chat-uikit-angular/src/lib/assets",
"output": "assets"
}
]
}
}
}
}
}
}
```
Skipping this step will cause all UIKit icons, empty-state images, and notification sounds to fail with 404 errors.
***
## Step 6 — Choose a Chat Experience
Integrate a conversation view that suits your app's UX. Each option below includes a step-by-step guide.
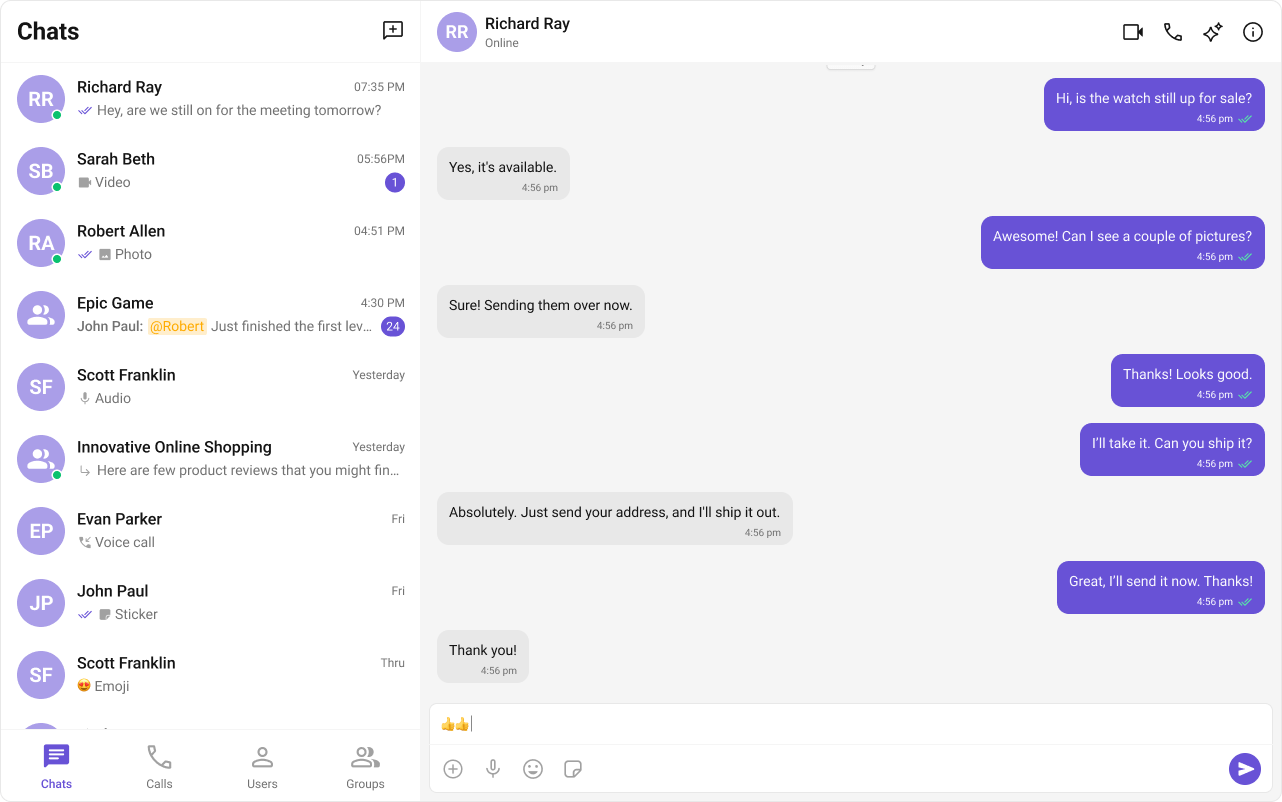
### Conversation List + Message View
Two-panel layout — conversation list on the left, messages on the right. Think WhatsApp Web or Slack.
* Two-panel layout with conversation list and active chat window
* Switch between one-to-one and group conversations
* Tap-to-view on mobile — tapping a conversation opens the message view
* Real-time updates and message sync across sessions
 Step-by-step guide to build this layout
***
### One-to-One / Group Chat
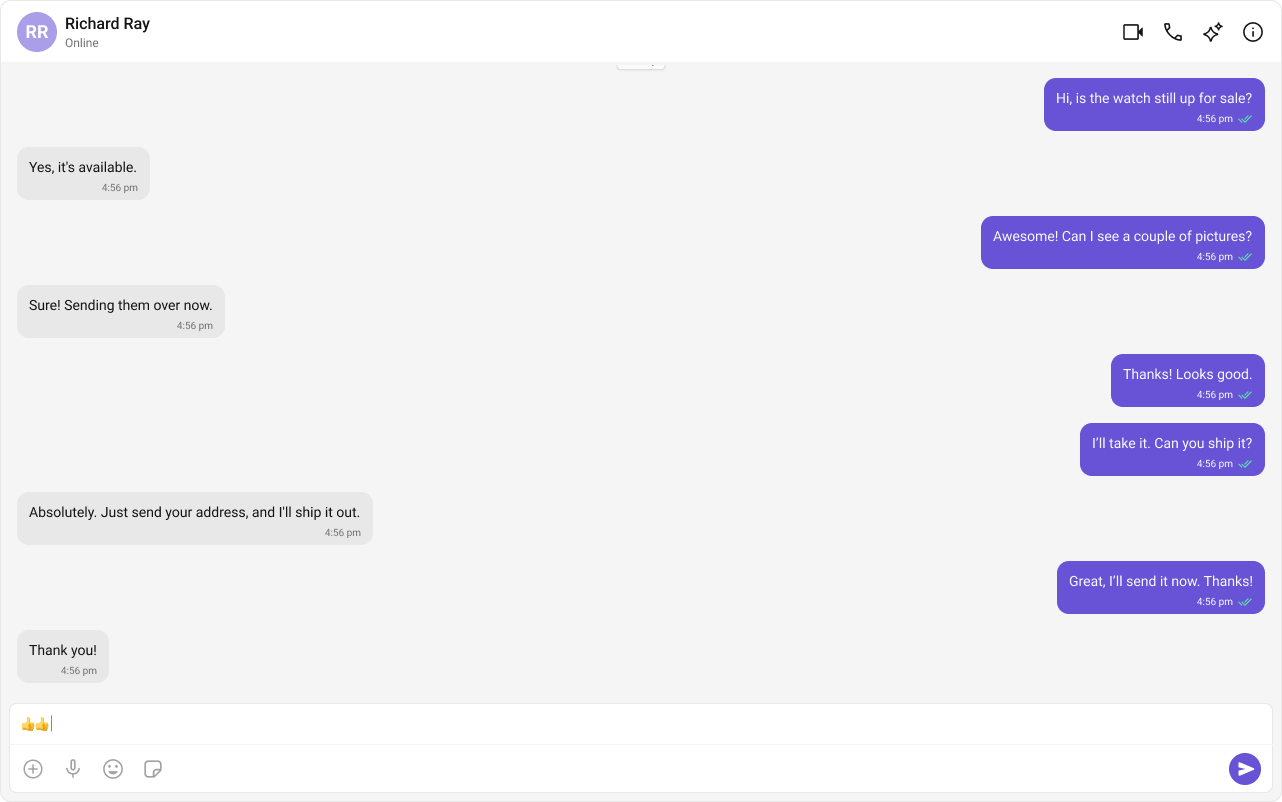
Single chat window — no sidebar. Good for support chat, embedded widgets, or focused messaging.
* Dedicated chat window for one-on-one or group messaging
* No conversation list — users go directly into the chat
* Full-screen experience optimized for mobile
* Ideal for support chat or community messaging
Step-by-step guide to build this layout
***
### One-to-One / Group Chat
Single chat window — no sidebar. Good for support chat, embedded widgets, or focused messaging.
* Dedicated chat window for one-on-one or group messaging
* No conversation list — users go directly into the chat
* Full-screen experience optimized for mobile
* Ideal for support chat or community messaging
 Step-by-step guide to build this layout
***
### Tab-Based Chat
Tabbed navigation — Chat, Call Logs, Users in separate tabs. Good for full-featured apps.
* Tab navigation between Chat, Call Logs, and Users
* Full-screen messaging within each tab
* Unified experience for conversations, call history, and settings
* Scales well for adding future features like notifications or contacts
Step-by-step guide to build this layout
***
### Tab-Based Chat
Tabbed navigation — Chat, Call Logs, Users in separate tabs. Good for full-featured apps.
* Tab navigation between Chat, Call Logs, and Users
* Full-screen messaging within each tab
* Unified experience for conversations, call history, and settings
* Scales well for adding future features like notifications or contacts
 Step-by-step guide to build this layout
***
## Build Your Own Chat Experience
Need full control over the UI? Use individual components, customize themes, and wire up your own layouts.
* [Components](/ui-kit/angular/components/components-overview) — All prebuilt UI elements with inputs and customization options
* [Core Features](/ui-kit/angular/core-features) — Messaging, real-time updates, and other capabilities
* [Theming](/ui-kit/angular/customization/theming) — Colors, fonts, dark mode, and custom styling
***
## Next Steps
Browse all prebuilt UI components
Customize colors, fonts, and styles
Chat features included out of the box
Common issues and fixes
Step-by-step guide to build this layout
***
## Build Your Own Chat Experience
Need full control over the UI? Use individual components, customize themes, and wire up your own layouts.
* [Components](/ui-kit/angular/components/components-overview) — All prebuilt UI elements with inputs and customization options
* [Core Features](/ui-kit/angular/core-features) — Messaging, real-time updates, and other capabilities
* [Theming](/ui-kit/angular/customization/theming) — Colors, fonts, dark mode, and custom styling
***
## Next Steps
Browse all prebuilt UI components
Customize colors, fonts, and styles
Chat features included out of the box
Common issues and fixes