> ## Documentation Index
> Fetch the complete documentation index at: https://cometchat-22654f5b-docs-rn-guide-message-privately.mintlify.site/llms.txt
> Use this file to discover all available pages before exploring further.
# Getting Started
> Getting Started — CometChat documentation.
## Start your first conversation
CometChat UI Kit for Android is a collection of prebuilt UI components designed to simplify the development of an in-app chat with all the essential messaging features. Our UI Kit offers light and dark themes, various fonts, colors, and additional customization options.
CometChat UI Kit supports both one-to-one and group conversations. Follow the guide below to initiate conversations from scratch using CometChat Android UI Kit.
 ## Prerequisites
Before installing the **UI Kit**, you need to create a CometChat application on the CometChat Dashboard, which includes all the necessary data for a chat service, such as users, groups, calls, and messages. You will require the `App ID`, `AuthKey`, and `Region` of your CometChat application when initializing the SDK.
**i. Register on CometChat**
* You need to register on the **CometChat Dashboard** first. [Click here to sign up](https://app.cometchat.com/login).
**ii. Get Your Application Keys**
* Create a **new app**
* Head over to the **QuickStart** or **API & Auth Keys section** and note the **App ID**, **Auth Key**, and **Region**.
**iii. IDE Setup**
* You have Android Studio installed on your machine.
* You have an Android device or emulator with Android version 6.0 or above.
* Android 5.0 (API level 21) or higher is installed.
* Java 8 or higher is installed.
* Android Gradle plugin 4.0.1 or higher is installed.
## Getting Started
Step 1
### Create a project
To get started, open Android Studio and create a new project for UI Kit in the Project window as follows:
1. Click Start a **new Android Studio** project in the **Welcome to Android Studio** window.
2. Select **Empty Activity** in the **Select a Project Template** window and click Next.
3. Enter your project name in the **Name** field in the **Configure your project** window.
4. Select your language as either **Java** or Kotlin from the Language drop-down menu.
5. Select minimum API level as 21 or higher.
***
Step 2
### Add Dependency
This developer kit is an add-on feature to the CometChat Android SDK, so installing it will also install the core Chat SDK.
Open the **project-level** `settings.gradle` file and add the following repository URL in the `repositories` block under the `repositories` section.
```gradle settings.gradle theme={null}
dependencyResolutionManagement {
repositoriesMode.set(RepositoriesMode.FAIL_ON_PROJECT_REPOS)
repositories {
google()
mavenCentral()
maven{
url "https://dl.cloudsmith.io/public/cometchat/cometchat/maven/"
}
}
}
```
Open the **app-level** `build.gradle` file and add your package name as indicated in the code.
```gradle build.gradle theme={null}
android {
defaultConfig {
...
manifestPlaceholders = [file_provider: "YOUR_PACKAGE_NAME"] //add your application package.
}
}
```
Open the **app level** `build.gradle` file and add the following dependency to fetch the chat UI kit into your project.
```gradle build.gradle theme={null}
dependencies {
implementation 'com.cometchat:chat-uikit-android:4.3.19'
}
```
Open the gradle.properties file and verify if the specified line is present. If not, add it accordingly.
```gradle gradle.properties theme={null}
android.enableJetifier=true
```
***
Step 3
### Initialize CometChatUIkit
To integrate and run CometChat UI Kit in your app, you need to initialize it beforehand.
The [Init](/ui-kit/android/v4/methods#init) method initializes the settings required for CometChat. Please ensure to call this method before invoking any other methods from CometChat UI Kit or CometChat SDK.
The Auth Key is an optional property of the `UIKitSettings` Class. It is intended for use primarily during proof-of-concept (POC) development or in the early stages of application development. You can use [Auth Token](/ui-kit/android/v4/methods#login-using-auth-token) method to login securely.
```java YourActivity.java theme={null}
String appID = "APP_ID"; // Replace with your App ID
String region = "REGION"; // Replace with your App Region ("EU" or "US")
String authKey= "AUTH_KEY"; // Replace with your Auth Key or leave blank if you are authenticating using Auth Token
UIKitSettings uiKitSettings = new UIKitSettings.UIKitSettingsBuilder()
.setRegion(region)
.setAppId(appID)
.setAuthKey(authKey)
.subscribePresenceForAllUsers().build();
CometChatUIKit.init(this, uiKitSettings, new CometChat.CallbackListener() {
@Override
public void onSuccess(String successString) {/_Your action after initializing CometChat_/}
@Override
public void onError(CometChatException e) {}
});
```
```kotlin YourActivity.kt theme={null}
val appID = "APP_ID" // Replace with your App ID
val region = "REGION" // Replace with your App Region ("eu" or "us")
val authKey = "AUTH_KEY" // Replace with your Auth Key or leave blank if you are authenticating using Auth Token
val uiKitSettings = UIKitSettingsBuilder()
.setRegion(region)
.setAppId(appID)
.setAuthKey(authKey)
.subscribePresenceForAllUsers().build()
CometChatUIKit.init(this, uiKitSettings, object : CometChat.CallbackListener() {
override fun onSuccess(successString: String?) {}
override fun onError(e: CometChatException?) {}
})
```
> Make sure to replace the **APP\_ID** with your CometChat appId, **AUTH\_KEY** with your CometChat app auth key and **REGION** with your app region in the above code.
***
Step 4
### Login User
For login, you require a `UID`. You can create your own users on the CometChat Dashboard or via API. We have pre-generated test users: `cometchat-uid-1`, `cometchat-uid-2`, `cometchat-uid-3`, `cometchat-uid-4`, `cometchat-uid-5`.
The `login()` method returns the User object containing all the information of the logged-in user.
This straightforward authentication method is ideal for proof-of-concept (POC) development or during the early stages of application development. For production environments, however, we strongly recommend using an [Auth Token](/ui-kit/android/v4/methods#login-using-auth-token) instead of an Auth Key to ensure enhanced security.
```java YourActivity.java theme={null}
CometChatUIKit.login("cometchat-uid-1", new CometChat.CallbackListener() {
@Override
public void onSuccess(User user) {
Log.d(TAG, "Login Successful : " + user.toString());
}
@Override
public void onError(CometChatException e) {
Log.e(TAG, "Login Failed : " + e.getMessage());
}
});
```
```kotlin YourActivity.kt theme={null}
CometChatUIKit.login("cometchat-uid-1", object : CometChat.CallbackListener() {
override fun onSuccess(user: User) {
Log.d(TAG, "Login Successful : $user")
}
override fun onError(e: CometChatException) {
Log.e(TAG, "Login Failed : " + e.message)
}
})
```
> It will be easier for you to open a new activity upon successful login.
***
Step 5
### Render Conversation With Message
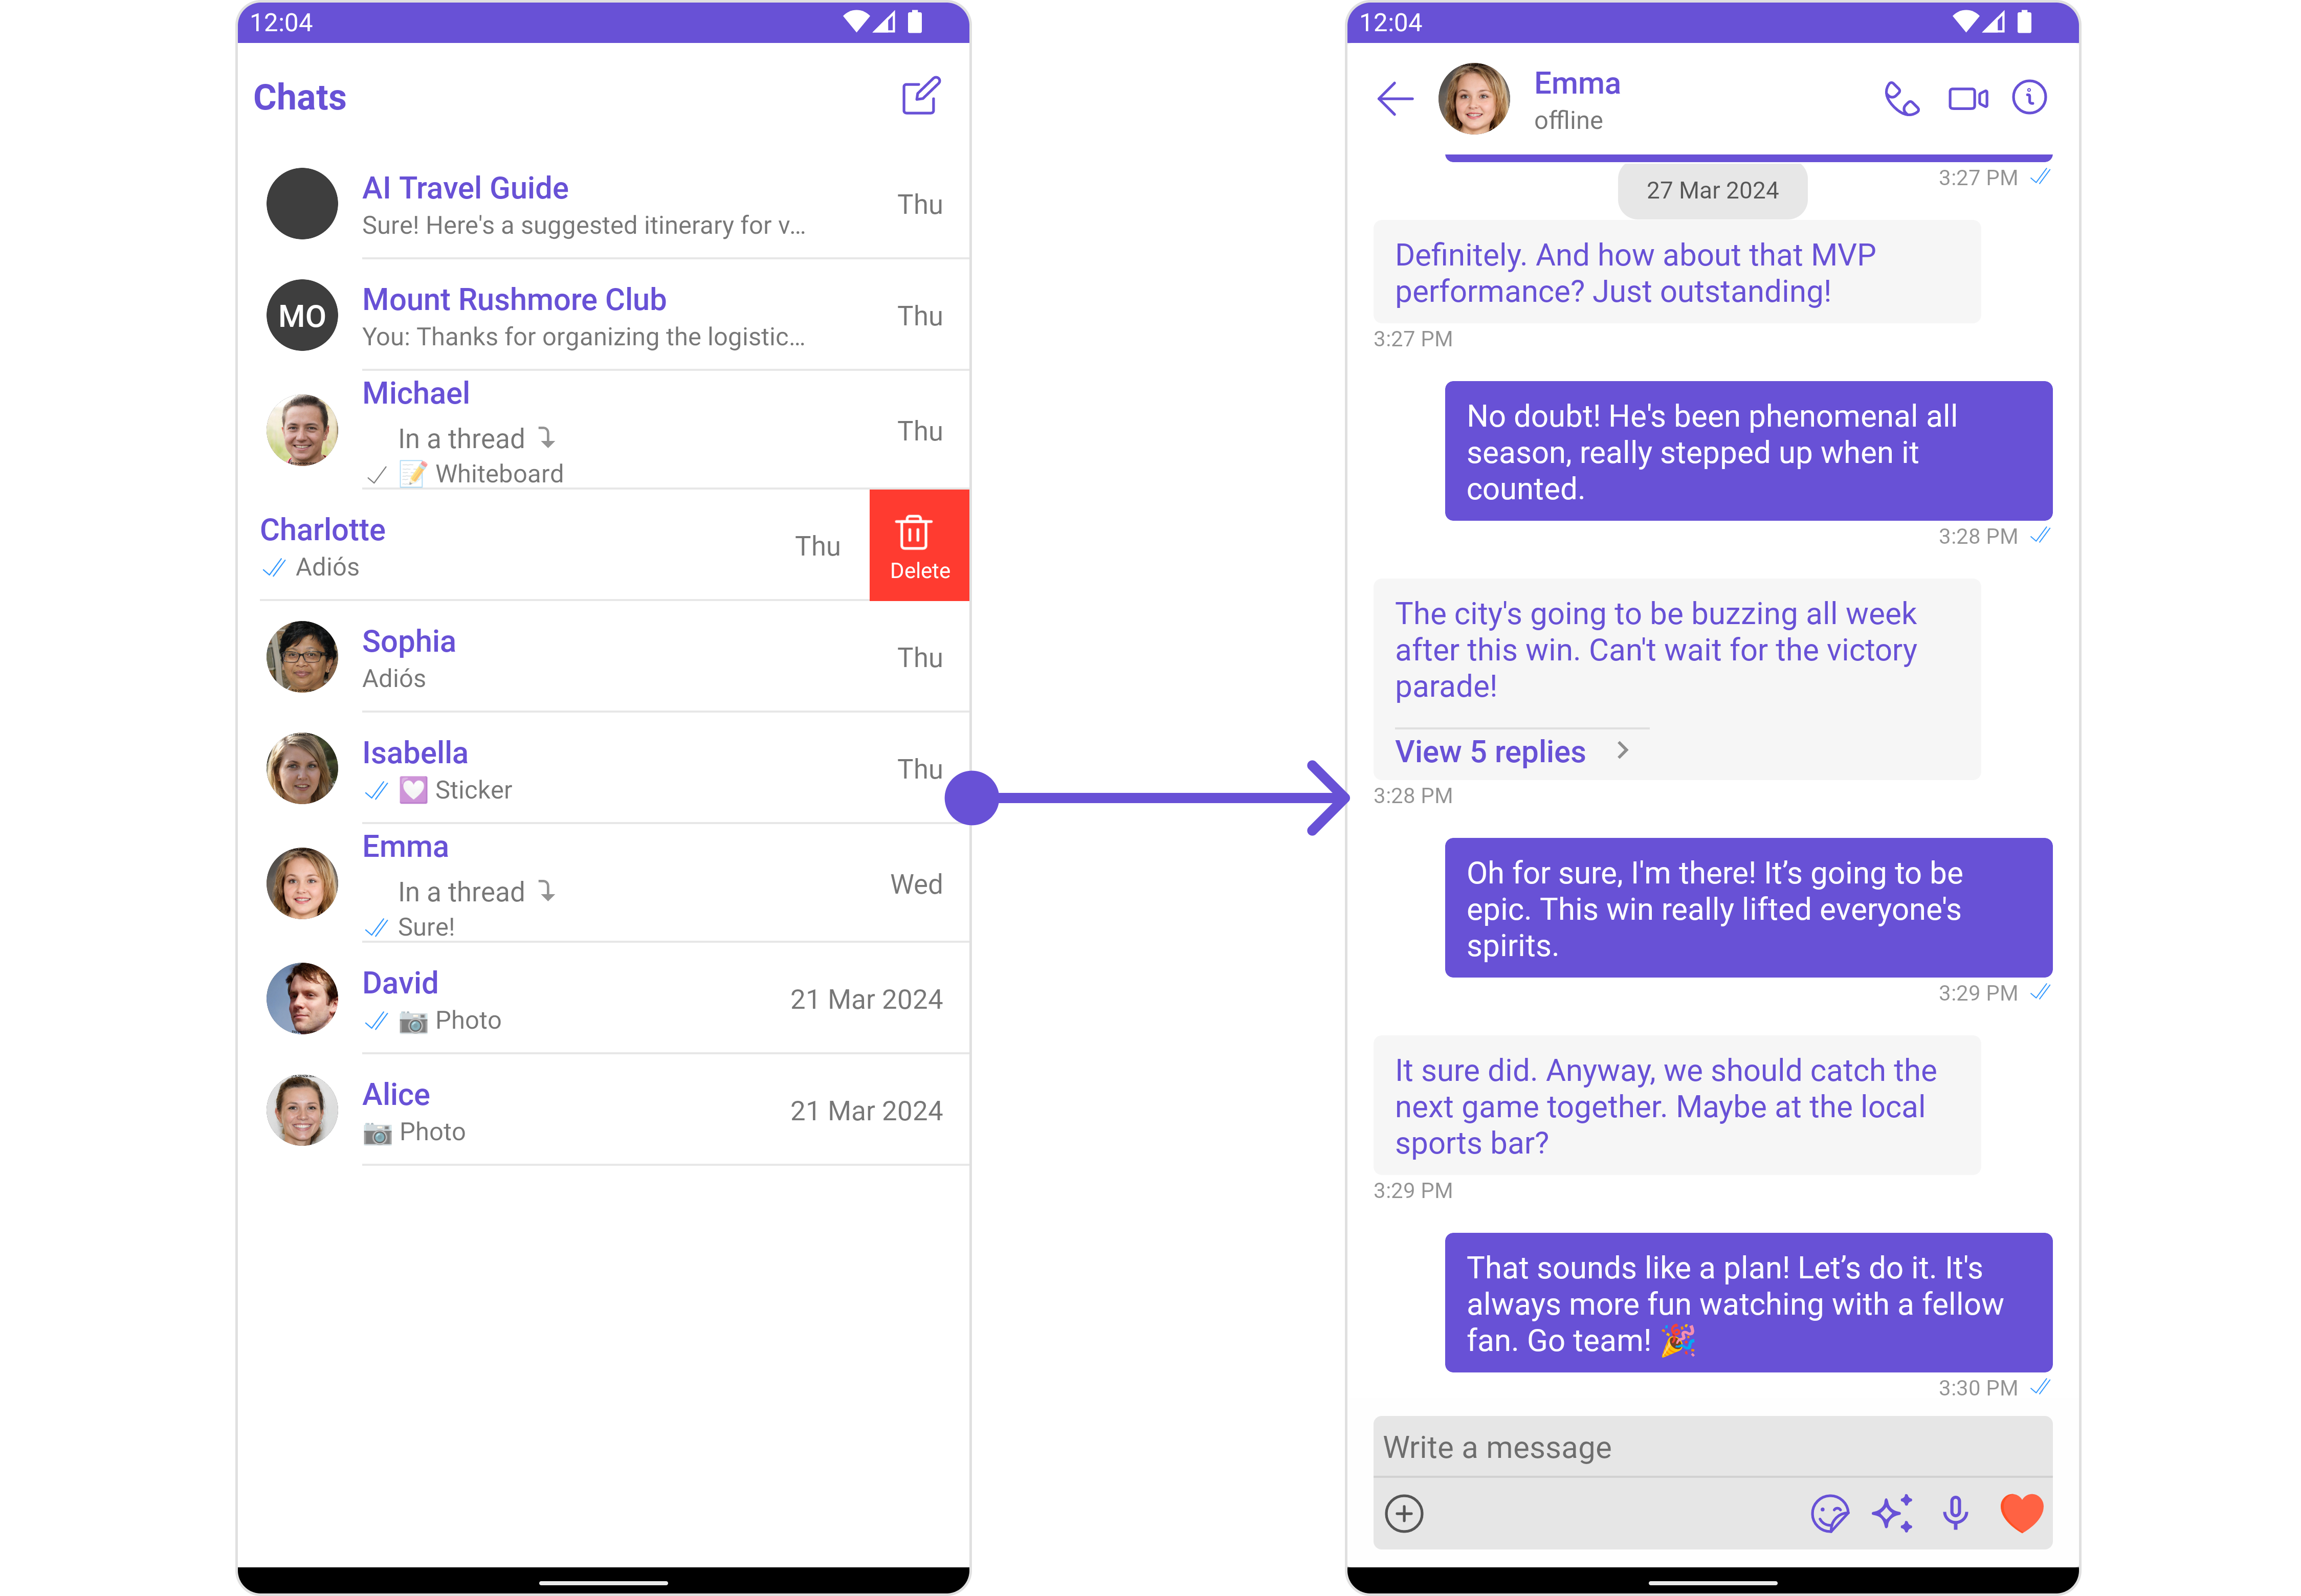
[ConversationsWithMessages](/ui-kit/android/v4/conversations-with-messages) is a wrapper component that offers functionality to render both the [Conversations](/ui-kit/android/v4/conversations) and [Messages](/ui-kit/android/v4/messages) components. It also enables opening the [Messages](/ui-kit/android/v4/messages) by tapping on any conversation rendered in the list of conversations.
[ConversationsWithMessages](/ui-kit/android/v4/conversations-with-messages) can be rendered by adding the following code snippet into the `layout_activity.xml` file:
```xml theme={null}
```
> It will automatically fetch the conversation data upon loading the list. If the conversation list is empty, you can start a new conversation.
## Prerequisites
Before installing the **UI Kit**, you need to create a CometChat application on the CometChat Dashboard, which includes all the necessary data for a chat service, such as users, groups, calls, and messages. You will require the `App ID`, `AuthKey`, and `Region` of your CometChat application when initializing the SDK.
**i. Register on CometChat**
* You need to register on the **CometChat Dashboard** first. [Click here to sign up](https://app.cometchat.com/login).
**ii. Get Your Application Keys**
* Create a **new app**
* Head over to the **QuickStart** or **API & Auth Keys section** and note the **App ID**, **Auth Key**, and **Region**.
**iii. IDE Setup**
* You have Android Studio installed on your machine.
* You have an Android device or emulator with Android version 6.0 or above.
* Android 5.0 (API level 21) or higher is installed.
* Java 8 or higher is installed.
* Android Gradle plugin 4.0.1 or higher is installed.
## Getting Started
Step 1
### Create a project
To get started, open Android Studio and create a new project for UI Kit in the Project window as follows:
1. Click Start a **new Android Studio** project in the **Welcome to Android Studio** window.
2. Select **Empty Activity** in the **Select a Project Template** window and click Next.
3. Enter your project name in the **Name** field in the **Configure your project** window.
4. Select your language as either **Java** or Kotlin from the Language drop-down menu.
5. Select minimum API level as 21 or higher.
***
Step 2
### Add Dependency
This developer kit is an add-on feature to the CometChat Android SDK, so installing it will also install the core Chat SDK.
Open the **project-level** `settings.gradle` file and add the following repository URL in the `repositories` block under the `repositories` section.
```gradle settings.gradle theme={null}
dependencyResolutionManagement {
repositoriesMode.set(RepositoriesMode.FAIL_ON_PROJECT_REPOS)
repositories {
google()
mavenCentral()
maven{
url "https://dl.cloudsmith.io/public/cometchat/cometchat/maven/"
}
}
}
```
Open the **app-level** `build.gradle` file and add your package name as indicated in the code.
```gradle build.gradle theme={null}
android {
defaultConfig {
...
manifestPlaceholders = [file_provider: "YOUR_PACKAGE_NAME"] //add your application package.
}
}
```
Open the **app level** `build.gradle` file and add the following dependency to fetch the chat UI kit into your project.
```gradle build.gradle theme={null}
dependencies {
implementation 'com.cometchat:chat-uikit-android:4.3.19'
}
```
Open the gradle.properties file and verify if the specified line is present. If not, add it accordingly.
```gradle gradle.properties theme={null}
android.enableJetifier=true
```
***
Step 3
### Initialize CometChatUIkit
To integrate and run CometChat UI Kit in your app, you need to initialize it beforehand.
The [Init](/ui-kit/android/v4/methods#init) method initializes the settings required for CometChat. Please ensure to call this method before invoking any other methods from CometChat UI Kit or CometChat SDK.
The Auth Key is an optional property of the `UIKitSettings` Class. It is intended for use primarily during proof-of-concept (POC) development or in the early stages of application development. You can use [Auth Token](/ui-kit/android/v4/methods#login-using-auth-token) method to login securely.
```java YourActivity.java theme={null}
String appID = "APP_ID"; // Replace with your App ID
String region = "REGION"; // Replace with your App Region ("EU" or "US")
String authKey= "AUTH_KEY"; // Replace with your Auth Key or leave blank if you are authenticating using Auth Token
UIKitSettings uiKitSettings = new UIKitSettings.UIKitSettingsBuilder()
.setRegion(region)
.setAppId(appID)
.setAuthKey(authKey)
.subscribePresenceForAllUsers().build();
CometChatUIKit.init(this, uiKitSettings, new CometChat.CallbackListener() {
@Override
public void onSuccess(String successString) {/_Your action after initializing CometChat_/}
@Override
public void onError(CometChatException e) {}
});
```
```kotlin YourActivity.kt theme={null}
val appID = "APP_ID" // Replace with your App ID
val region = "REGION" // Replace with your App Region ("eu" or "us")
val authKey = "AUTH_KEY" // Replace with your Auth Key or leave blank if you are authenticating using Auth Token
val uiKitSettings = UIKitSettingsBuilder()
.setRegion(region)
.setAppId(appID)
.setAuthKey(authKey)
.subscribePresenceForAllUsers().build()
CometChatUIKit.init(this, uiKitSettings, object : CometChat.CallbackListener() {
override fun onSuccess(successString: String?) {}
override fun onError(e: CometChatException?) {}
})
```
> Make sure to replace the **APP\_ID** with your CometChat appId, **AUTH\_KEY** with your CometChat app auth key and **REGION** with your app region in the above code.
***
Step 4
### Login User
For login, you require a `UID`. You can create your own users on the CometChat Dashboard or via API. We have pre-generated test users: `cometchat-uid-1`, `cometchat-uid-2`, `cometchat-uid-3`, `cometchat-uid-4`, `cometchat-uid-5`.
The `login()` method returns the User object containing all the information of the logged-in user.
This straightforward authentication method is ideal for proof-of-concept (POC) development or during the early stages of application development. For production environments, however, we strongly recommend using an [Auth Token](/ui-kit/android/v4/methods#login-using-auth-token) instead of an Auth Key to ensure enhanced security.
```java YourActivity.java theme={null}
CometChatUIKit.login("cometchat-uid-1", new CometChat.CallbackListener() {
@Override
public void onSuccess(User user) {
Log.d(TAG, "Login Successful : " + user.toString());
}
@Override
public void onError(CometChatException e) {
Log.e(TAG, "Login Failed : " + e.getMessage());
}
});
```
```kotlin YourActivity.kt theme={null}
CometChatUIKit.login("cometchat-uid-1", object : CometChat.CallbackListener() {
override fun onSuccess(user: User) {
Log.d(TAG, "Login Successful : $user")
}
override fun onError(e: CometChatException) {
Log.e(TAG, "Login Failed : " + e.message)
}
})
```
> It will be easier for you to open a new activity upon successful login.
***
Step 5
### Render Conversation With Message
[ConversationsWithMessages](/ui-kit/android/v4/conversations-with-messages) is a wrapper component that offers functionality to render both the [Conversations](/ui-kit/android/v4/conversations) and [Messages](/ui-kit/android/v4/messages) components. It also enables opening the [Messages](/ui-kit/android/v4/messages) by tapping on any conversation rendered in the list of conversations.
[ConversationsWithMessages](/ui-kit/android/v4/conversations-with-messages) can be rendered by adding the following code snippet into the `layout_activity.xml` file:
```xml theme={null}
```
> It will automatically fetch the conversation data upon loading the list. If the conversation list is empty, you can start a new conversation.